- Log in to cPanel.
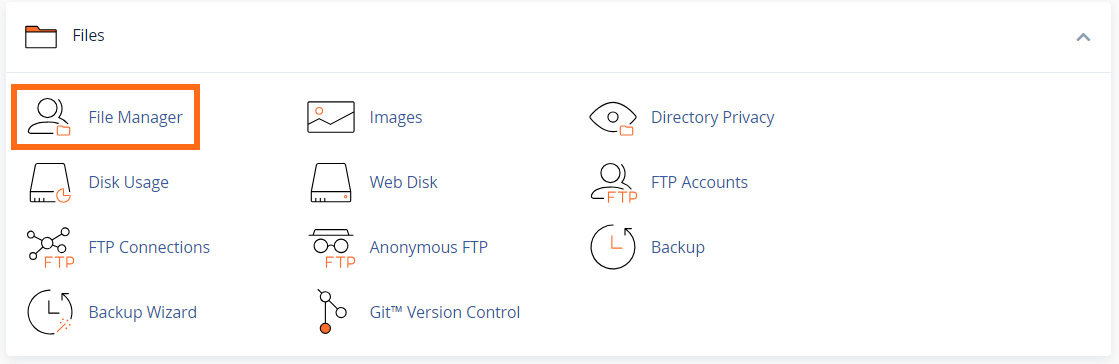
- In the cPanel’s Files section, click on the File Manager icon.
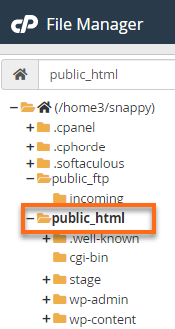
- On the next page, locate and select public_html from the list.
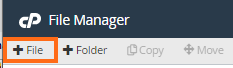
- In the top-right menu, click +File.
- Enter phpinfo.php when prompted to create a new file. You can actually name it anything; phpinfo.php is just commonly used for this purpose.
- Select the Create New File button.
- Locate and right-click phpinfo.php from your list of files.
- Select Edit.
- Enter one of the following selections of code into the phpinfo.php file:
Show All PHP Information
#Use the following code to show all the information about PHP.
	<?php
	phpinfo(); // This would be used to display all of the PHP information available for the installation.
	?>
Show Installed Modules
#Use the following code to see the installed modules and their current values.
	<?php
	phpinfo(INFO_MODULES); // This would be used to display the installed modules and their current values.
	?>
Show php.ini Configurations
#Use the following code to display the configurations you have set up through your php.ini or to review what's set up through the default configurations. <?php phpinfo(INFO_CONFIGURATION); // This would be used to display the configurations you have set up through your php.ini or to review what's set up through the default configurations. ?> - Click Save Changes.
Knowledge Base
Click to Copy