- Log in to cPanel.
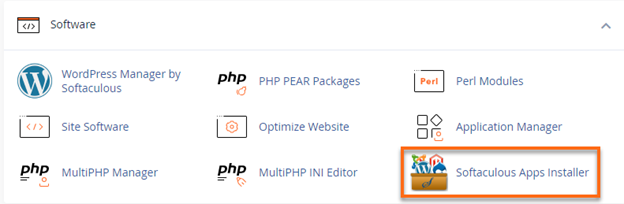
- Under the Software section, click on Softaculous Apps Installer.
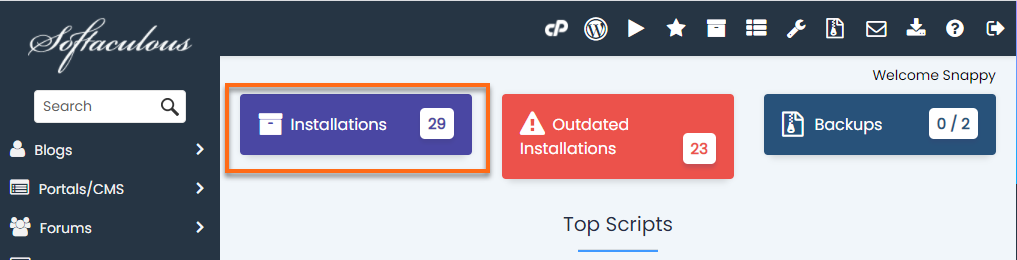
- In Softaculous, click on the Installations box.
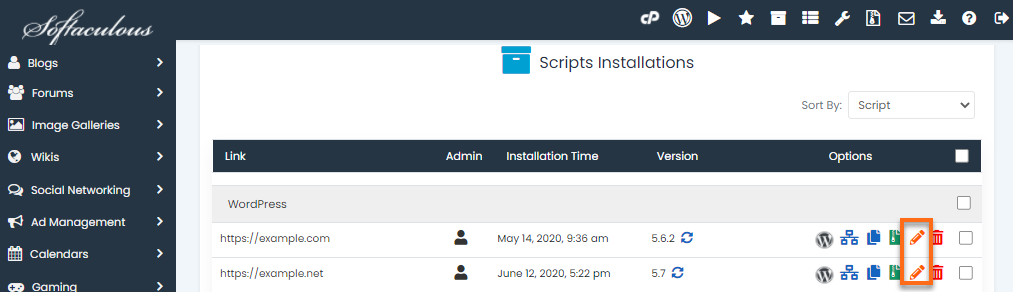
- The next page will show the list of installed scripts. Click on the Pencil icon to edit the installation details.
- On the Edit Installation Details page, select how you want to upgrade your installation.
- Choose preferred settings from the three options provided:
Do not Auto Upgrade – The auto-upgrade is disabled.
Upgrade to Minor versions only – The software will be automatically upgraded with minor updates (WP update from 5.3 to 5.3.3 instead of 5.4).
Upgrade to any latest version available (Major and Minor) -The software will be automatically upgraded with major and minor updates (For example, WP minor update from 5.3 to 5.3.3 and major update from 5.4 to 5.5).
- Click on the Save Installation Details button at the bottom of the page.

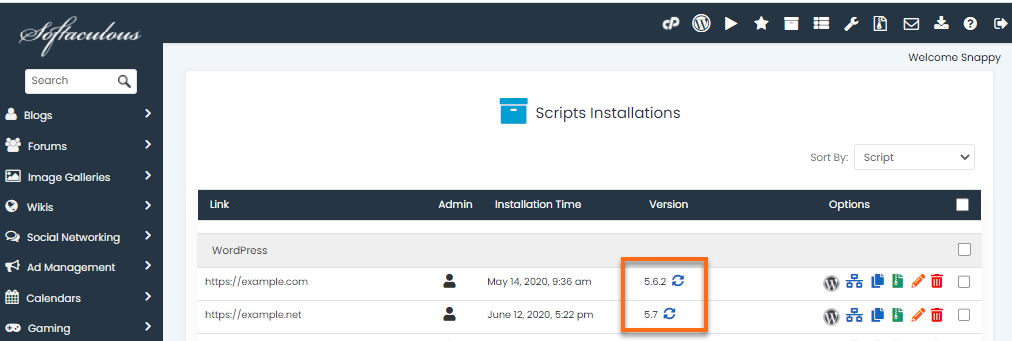
- The screenshot below shows how an installation looks like if auto-update is enabled.
Knowledge Base
Click to Copy